
The Complete Guide to Hanu's Adventure Pages in Honkai: Star Rail
Locate every Hanu's Adventure Page in Honkai: Star Rail's Penacony with this Part 1 & 2 guide covering puzzle solutions and missable chapters.
Collecting every Hanu's Adventure Page in Honkai: Star Rail is one of those side pursuits that feels genuinely rewarding. Sure, players are mainly here for the gacha pulls and the flashy ultimates, but tucked away in the dreamlike layers of Penacony is a surprisingly cool collection of lore. Hanu isn't just a cartoon mascot—he's actually based on a historical military commander who helped lay the foundations of Penacony itself. Now, in the dreamscape, players get to transform into his gremlin-like mini-self, solving puzzles and sneaking past enemies to find limited edition storybooks released by Clockie Studios. Let's dive into every location across Part 1 and Part 2, because missing even one chapter means leaving that shiny achievement unclaimed.
Hanu's Adventure Part 1 – All Chapter Locations
The search spans across Golden Hour, Dream's Edge, and The Reverie. Some chapters are tied to quests, others are entirely missable if you're not poking around in the right corners.
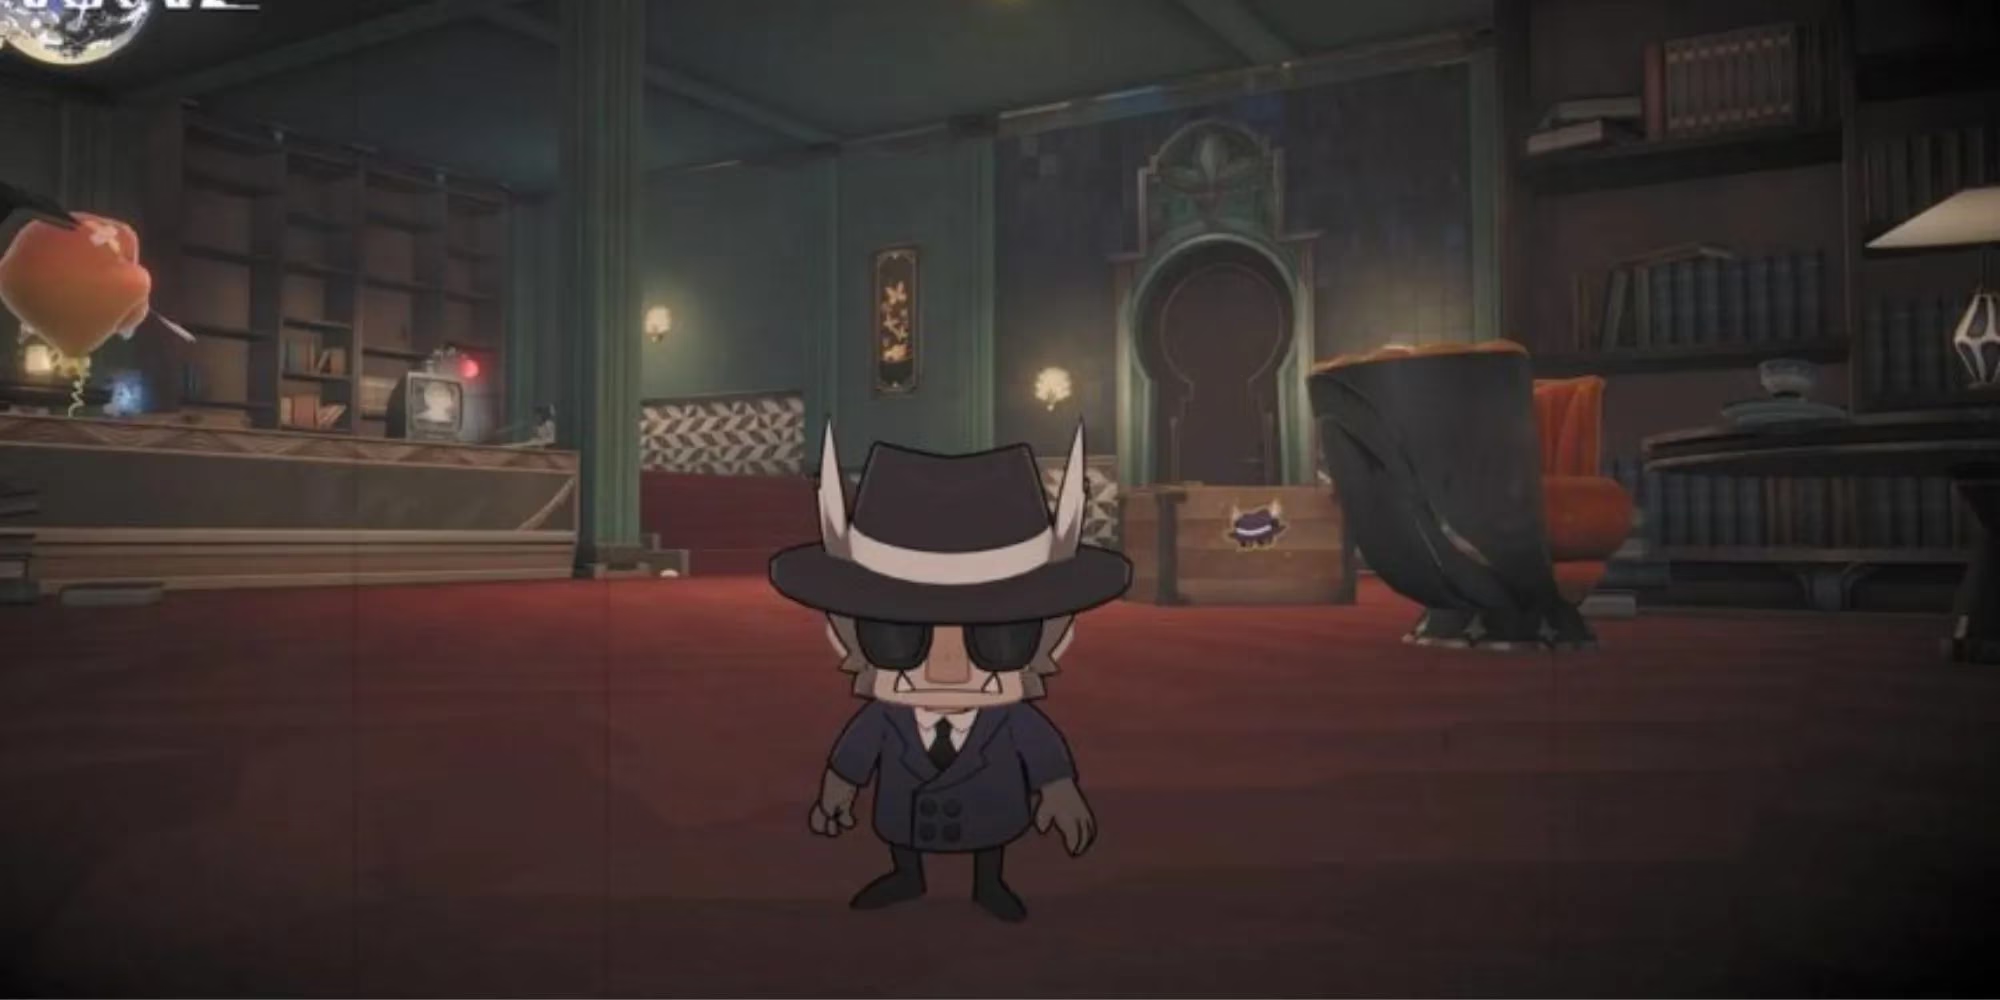
| Chapter | Location in Penacony | Key Gimmick |
|---|---|---|
| Preface | Dreammerse Shopping Street | Double transformation & teleporter hopping |
| Chapter 1 | Sweet Corner, Golden Hour | Dream Jigsaw puzzle & balloon popping |
| Chapter 3 | Dreamweaver Plaza, Dream's Edge | Stealth through enemy patrols |
| Chapter 4 | VIP Lounge Corridor, The Reverie | Sneaking through bookshelves |
Preface – A Quest-Related Surprise
Many players stumble upon this Precious Chest naturally while questing through Golden Hour. For those who missed it, head to the Hanu's Adventure spot on Dreammerse Shopping Street and transform into tiny Hanu. Slip through the small door on the left, follow the corridor past the books, and you'll spot a transformation device on your right. Switch back to normal form, pop the balloon blocking the way, then transform into Hanu again. Use the teleporter on the left to get back onto the floor, then immediately turn around—there's another teleporter on the left that zips you onto a shelf where the chest waits.
Chapter 1 – Sweet Corner's Dream Jigsaw
This one requires a quick trip to the Sweet Corner Space Anchor. Run up the stairs, cross the road, and locate the Hanu Adventure station. Transform, enter the tiny door, and revert to normal using the device on your right. Before solving the Dream Jigsaw puzzle, break the balloon right in front of it. The first jigsaw piece sits at the top of the stairs in normal form. Grab that, then transform back into Hanu, pass through the gap, and take the teleporter up to the shelf. The second piece waits at the end. With both in hand, the puzzle completes and the chest unlocks.
Chapter 3 – Ducking Enemies at Dream's Edge
Speed matters here. From Dreamweaver Plaza, head east to find Hanu's Adventure. Transform and immediately look for the teleporter ahead. Hide under the vents—one enemy patrols dangerously close. After teleporting, watch the enemy's movement pattern before dashing left past the boxes to the next teleporter. If things get dicey, pop into a box and wait. Once you teleport down, hide behind the nearest box, wait for the enemy to turn away, then sprint to the teleporter under the vent. It lifts you right to the Precious Chest.
Chapter 4 – The Reverie's VIP Sneaking
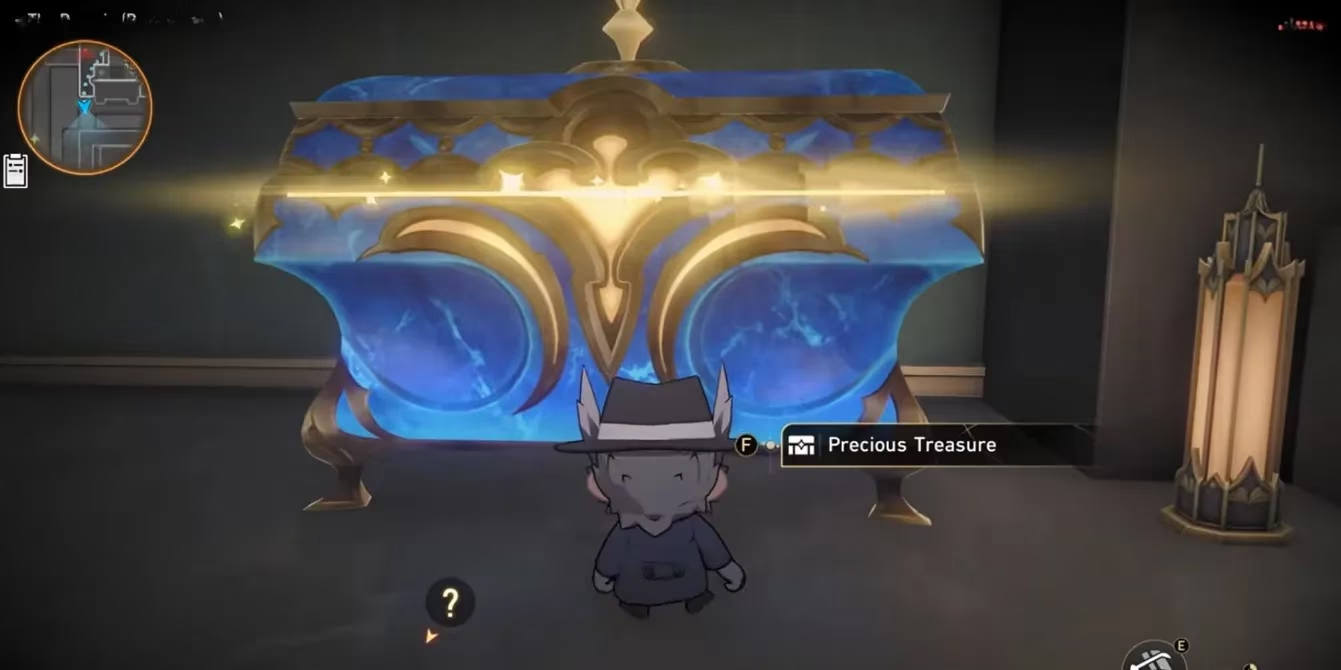
Inside The Reverie (Dreamscape), teleport to the VIP Lounge Corridor Space Anchor and head downstairs to the Hanu device. Once transformed, turn around, go left past the staircase, and aim for the bookshelf on your left. Multiple enemies lurk here, so keep your eyes peeled. Slip through the bookshelf and the Precious Chest appears right in front of you.
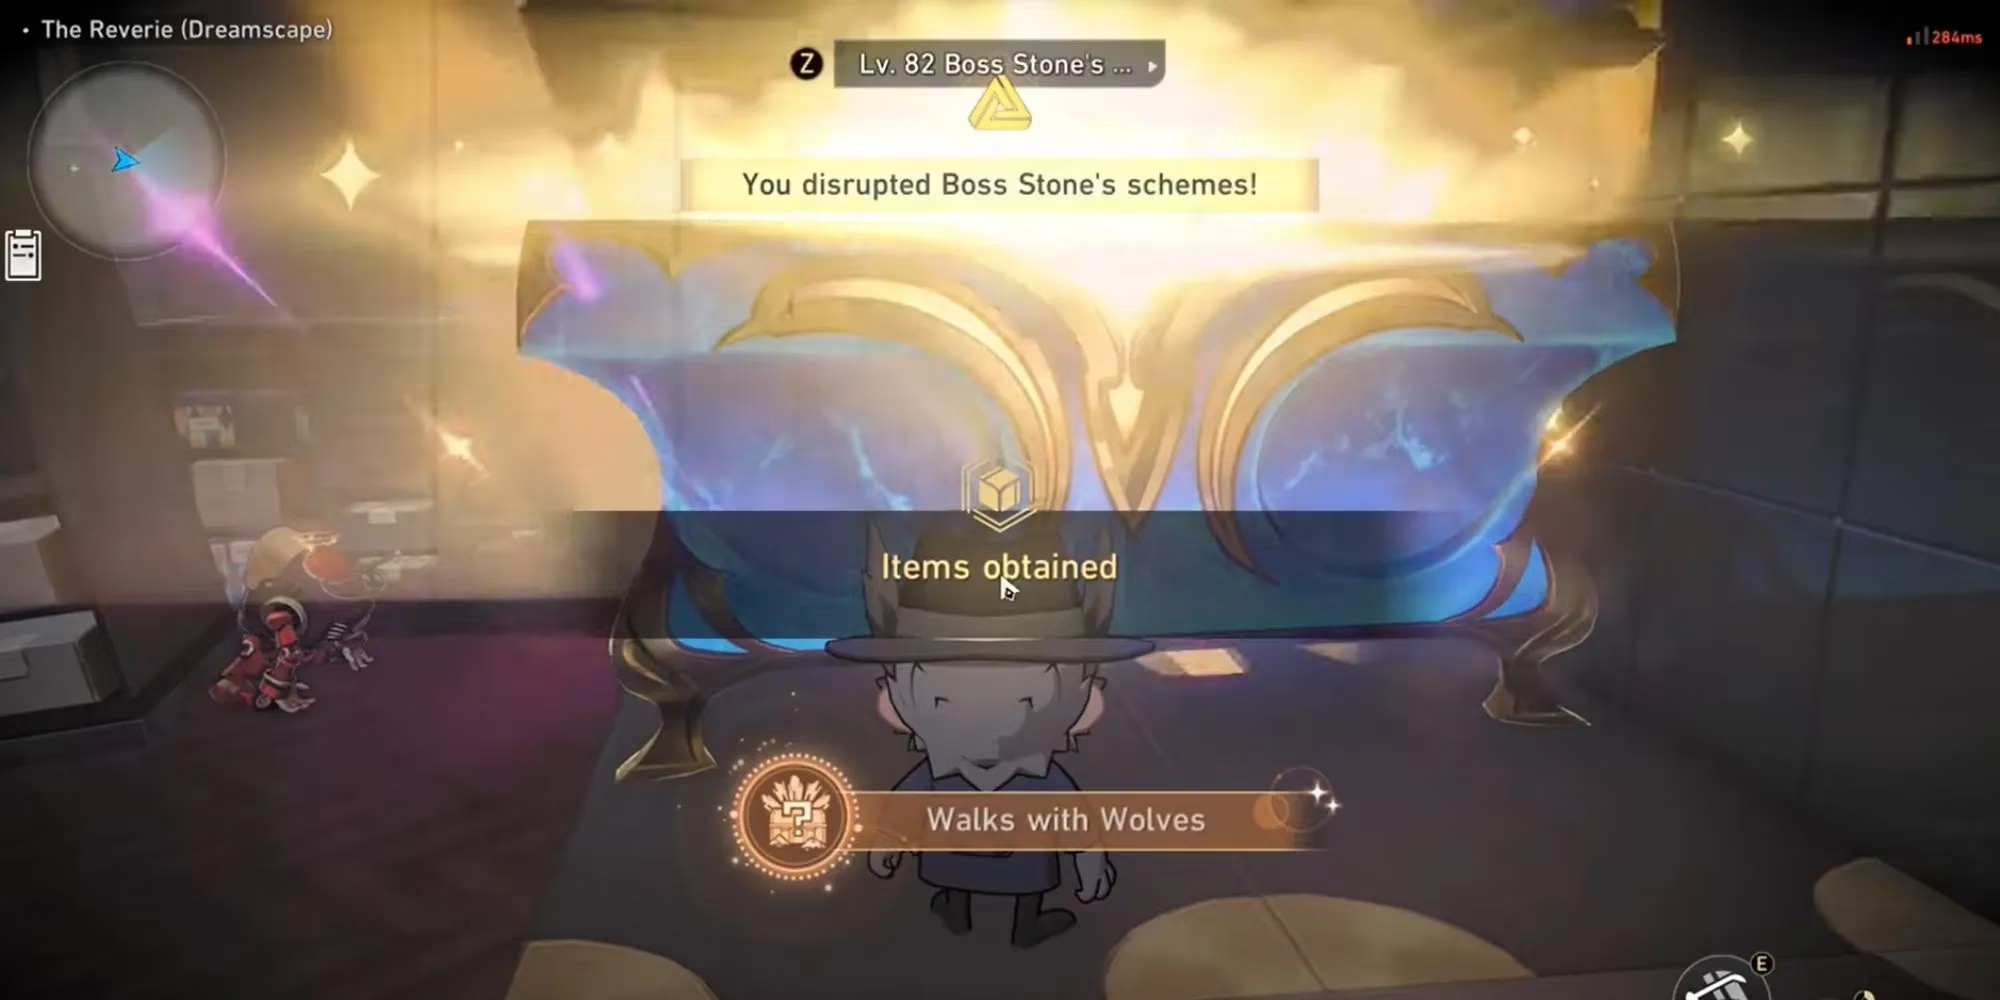
After claiming chapter 4, you'll also find the final chapter of Part 1 inside The Reverie's 3D room. Enter, descend the stairs, turn left, and use the transformation device. As Hanu, take the teleporter past the stairs to the lower level. Use the teleporter on the opposite side of the shelf to get back to the floor, then revert to normal. Pop the balloon to your right, transform again, and use the teleporter ahead to get above an enemy. Push one of the vases onto the enemy below to knock it out. Teleport back down, head through the new opening, hide under the shelf, and dash to the box. Wait for the flying enemy to leave, then take the teleporter up to the final Precious Chest. Completing this collection grants the achievement Walk With Wolves.
Hanu's Adventure Part 2 – All Chapter Locations
Part 2 shifts deeper into Clockie Studios Theme Park and Dewlight Pavilion. The puzzles get trickier, and rocket launchers make their explosive debut.
| Chapter | Location in Penacony | Key Gimmick |
|---|---|---|
| Chapter 1 | Hanu Gang Base, Clockie Studios Theme Park | Rocket launcher & jigsaw piece hunting |
| Chapter 2 | 3D Room, west of Dreammaster Hall | Bubble Charges & rocket launcher ambush |
| Chapter 3 | 3D Room, east of Dewlight Pavilion | NPC interaction & ammo management |
| Chapter 4 | Hamster Ball Park, Clockie Studios Theme Park | Teleporter chain & enemy clearing |
Chapter 1 – Clockie Studios Jigsaw
Near the Hanu Gang Base Space Anchor, investigate the Dream Jigsaw painting. The pieces scatter immediately. Head down the stairs to find the Hanu transformation device. Dream Jigsaw Piece 1 sits right next to it. For Piece 2, turn around, go left, and look underneath a shelf behind a rocket launcher. Then turn around, pass through the gap to reach Piece 3. Go back the same way, grab the rocket launcher, and defeat the enemy ahead—remember to pick up the ammo. After clearing the path, return through the gap, take a right toward the next enemy, and either blast it or sneak past to reach the first transformation device. Revert to normal, complete the puzzle, and the chest unlocks.
Chapter 2 – Bubble Charges and Rocket Mayhem
Enter the 3D room west of the map by teleporting to the Dreammaster Hall Space Anchor and climbing the stairs. Grab the first Bubble Charge on your left and head to the Bubble Bridge on the far right (this area should be accessible after finishing the recent Trailblaze Mission). Cross the new floor and take the next Bubble Bridge, again on the far right. You'll spot the Hanu transformation device. Use it, then head straight, take two lefts past a patrolling enemy to find a teleporter. It sends you to a rocket launcher—pick it up immediately. Defeat every enemy in sight, collecting ammo from each fallen foe to keep the assault going. The Precious Chest waits on the left side of the floor.
Chapter 3 – Dewlight Pavilion's Ammo Rush
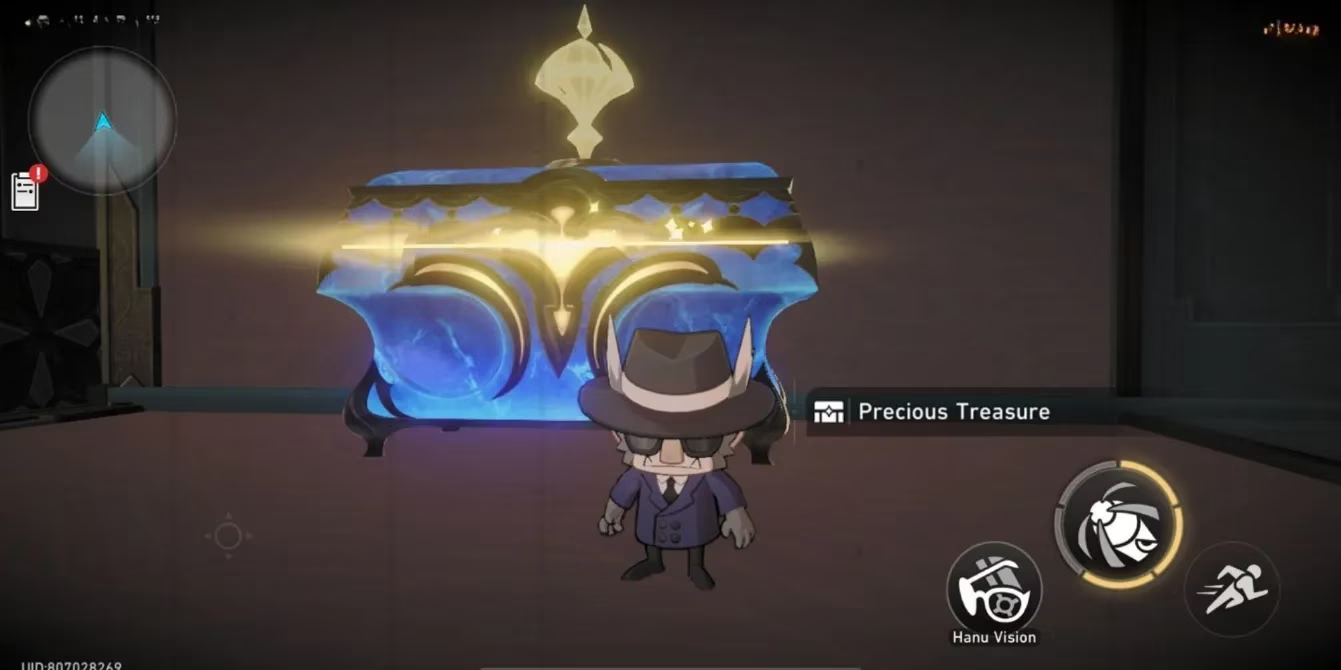
Teleport to Dewlight Pavilion and locate the 3D room on the eastern side. To unlock it, speak with Burton standing in front. Once inside, head downstairs, grab the Bubble Charge on your left, and double back to the switch that fixes the bridge. Cross over and use the Bubble Charge on the first Bubble Bridge you see. Unlock it, take a sharp left, and snag the next Bubble Charge. Use it on the bridge ahead to reach the Hanu transformation device. Before you squeeze through the small gap, pick up the rocket launcher nearby. Every enemy here must die for the chest to open. Each one drops ammo upon defeat, so you'll need to be lightning-fast—scoop up the ammo and immediately target the next one before it detects you. The chest sits at the end of the gauntlet.
Chapter 4 – Hamster Ball Park Finale
The final chapter hides at Clockie Studios Theme Park. Teleport to the Hamster Ball Park Space Anchor, go straight, and descend the stairs to your right where the Hanu transformation device waits. Transform, enter the small door, and use the device on your right to revert and break the balloon to your left. Transform again, pass through the gap, hug the right side, and take the teleporter at the end of the path. It drops you onto a floor with another teleporter—use it to reach a new slab where a rocket launcher sits waiting. This weapon is essential for clearing the surrounding enemies. Head back down the way you came and use the launcher on the enemies near the second transformation device. Alternatively, sneak behind the boxes to reach it safely. Transform back into your normal self and climb the stairs to claim the final Precious Chest. Completing Part 2 earns you the achievement Living With a Wolf.
These adventure pages don't just fill out an inventory—they weave together the cartoonish myth of Hanu with the deeper history of Penacony. So if you're ever bored between banner pulls, track these down. Which chapter tripped you up the most? Probably that ammo panic in Dewlight Pavilion, right?
Comments